
Change the Paper Roll
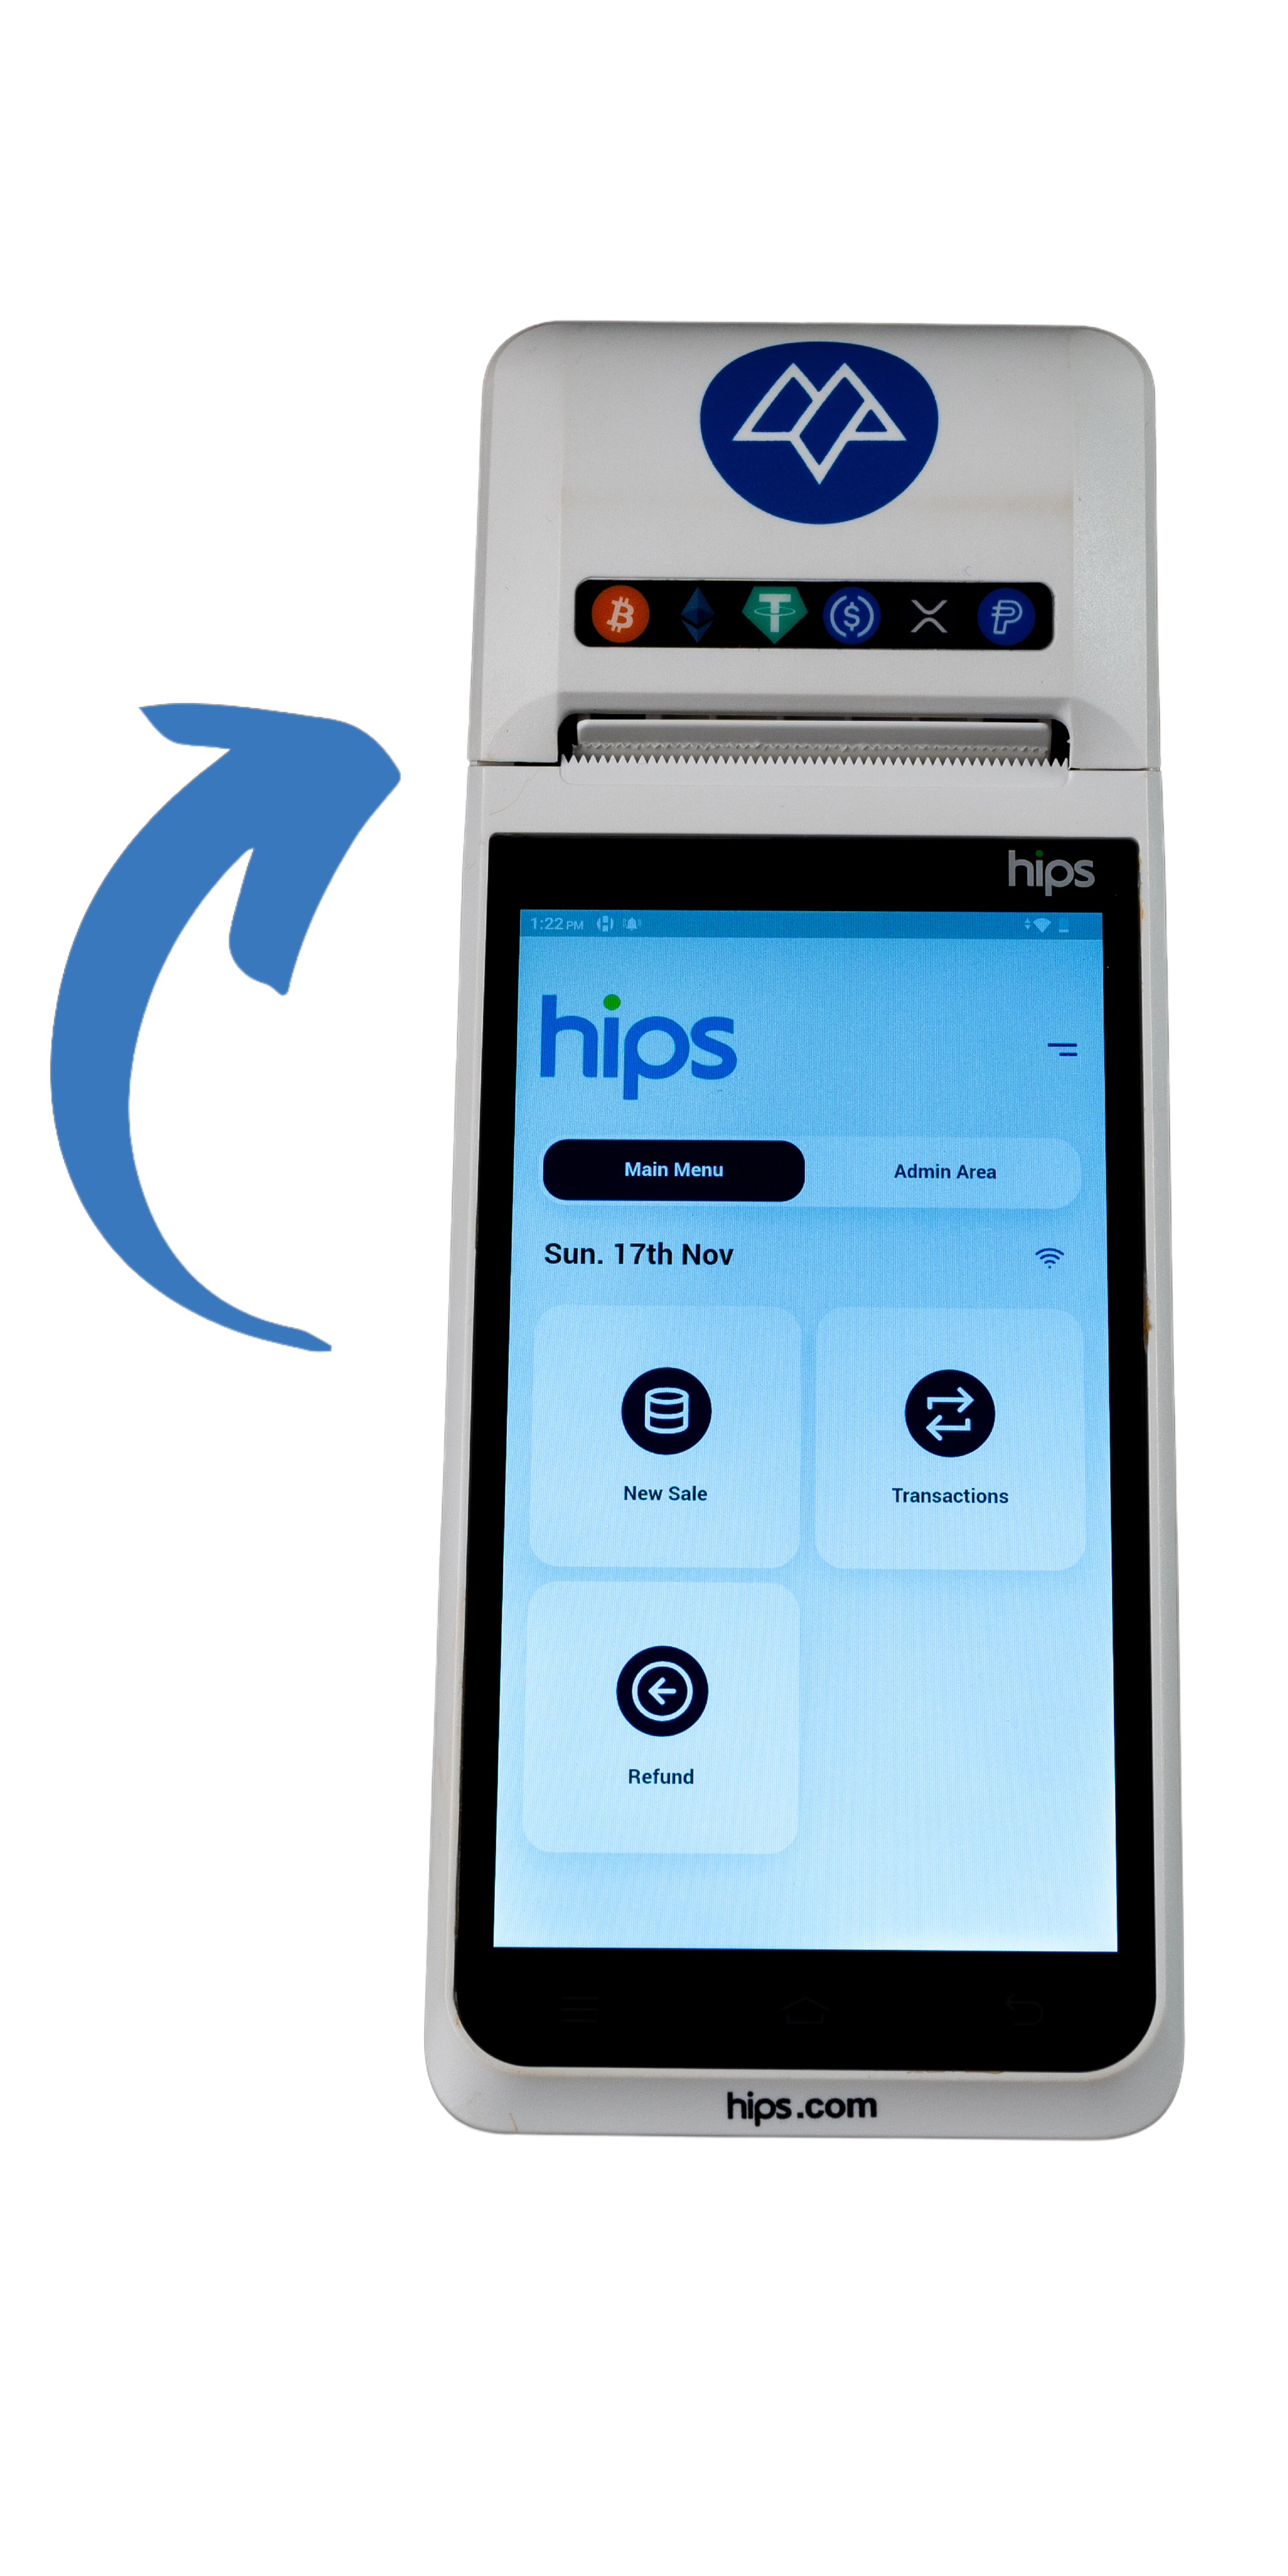
Identify the paper compartment at the top of the device, located behind the MTO logo.
Rotate the device so the top is easily accessible.
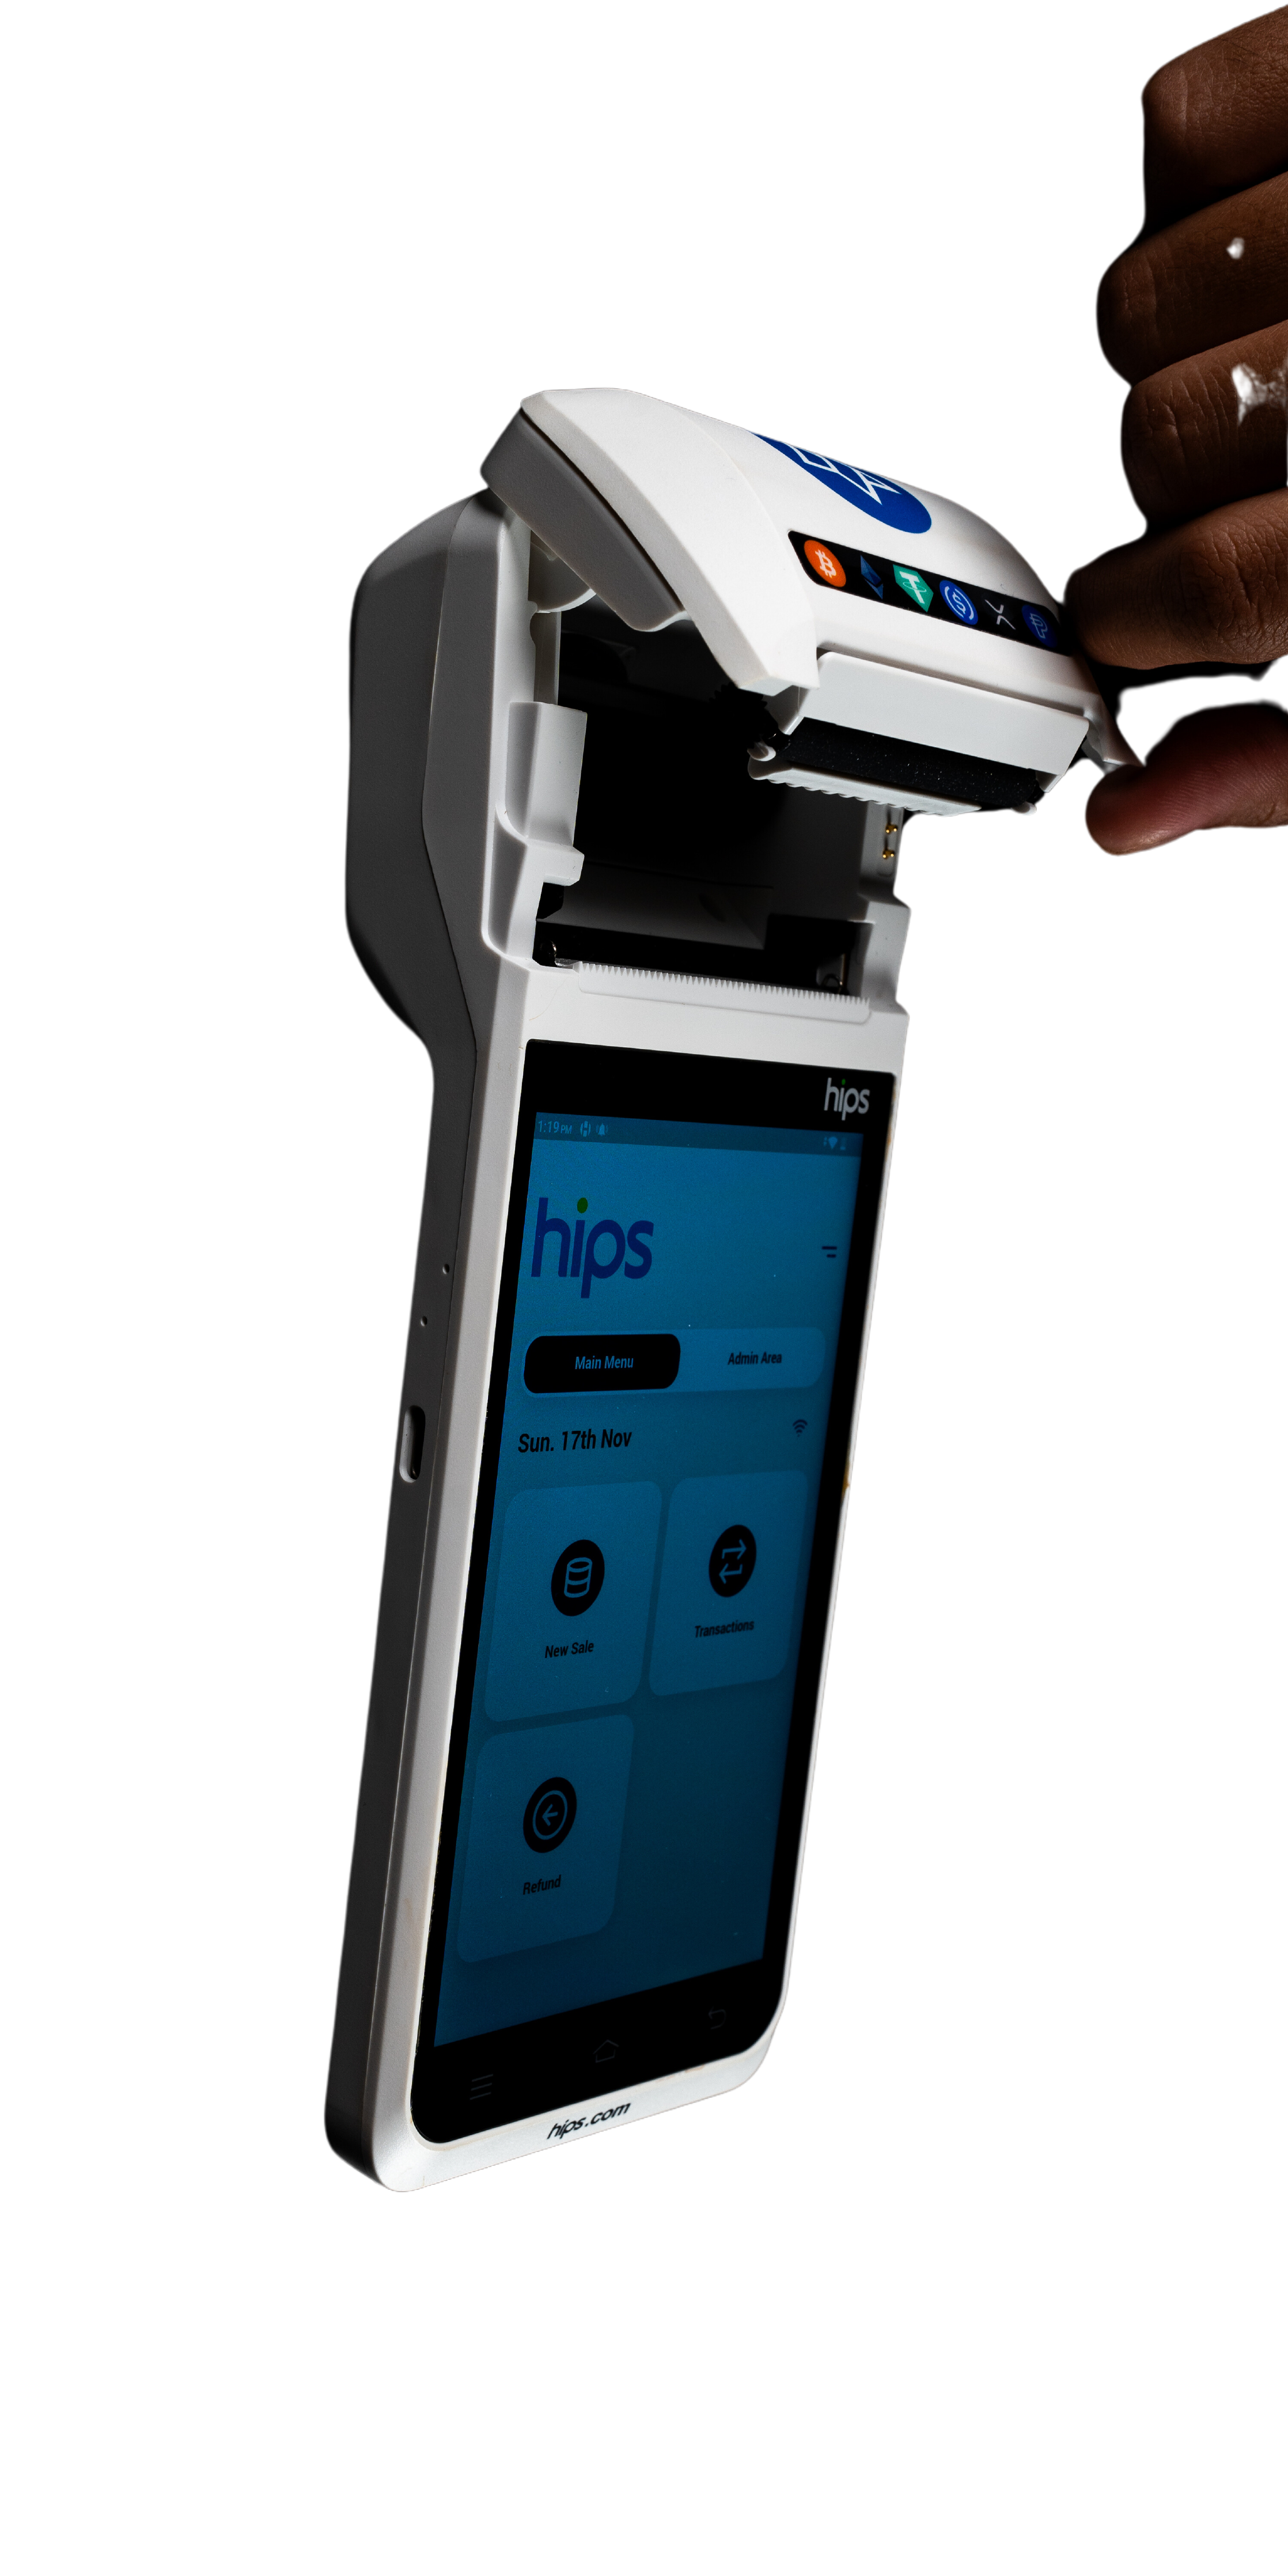
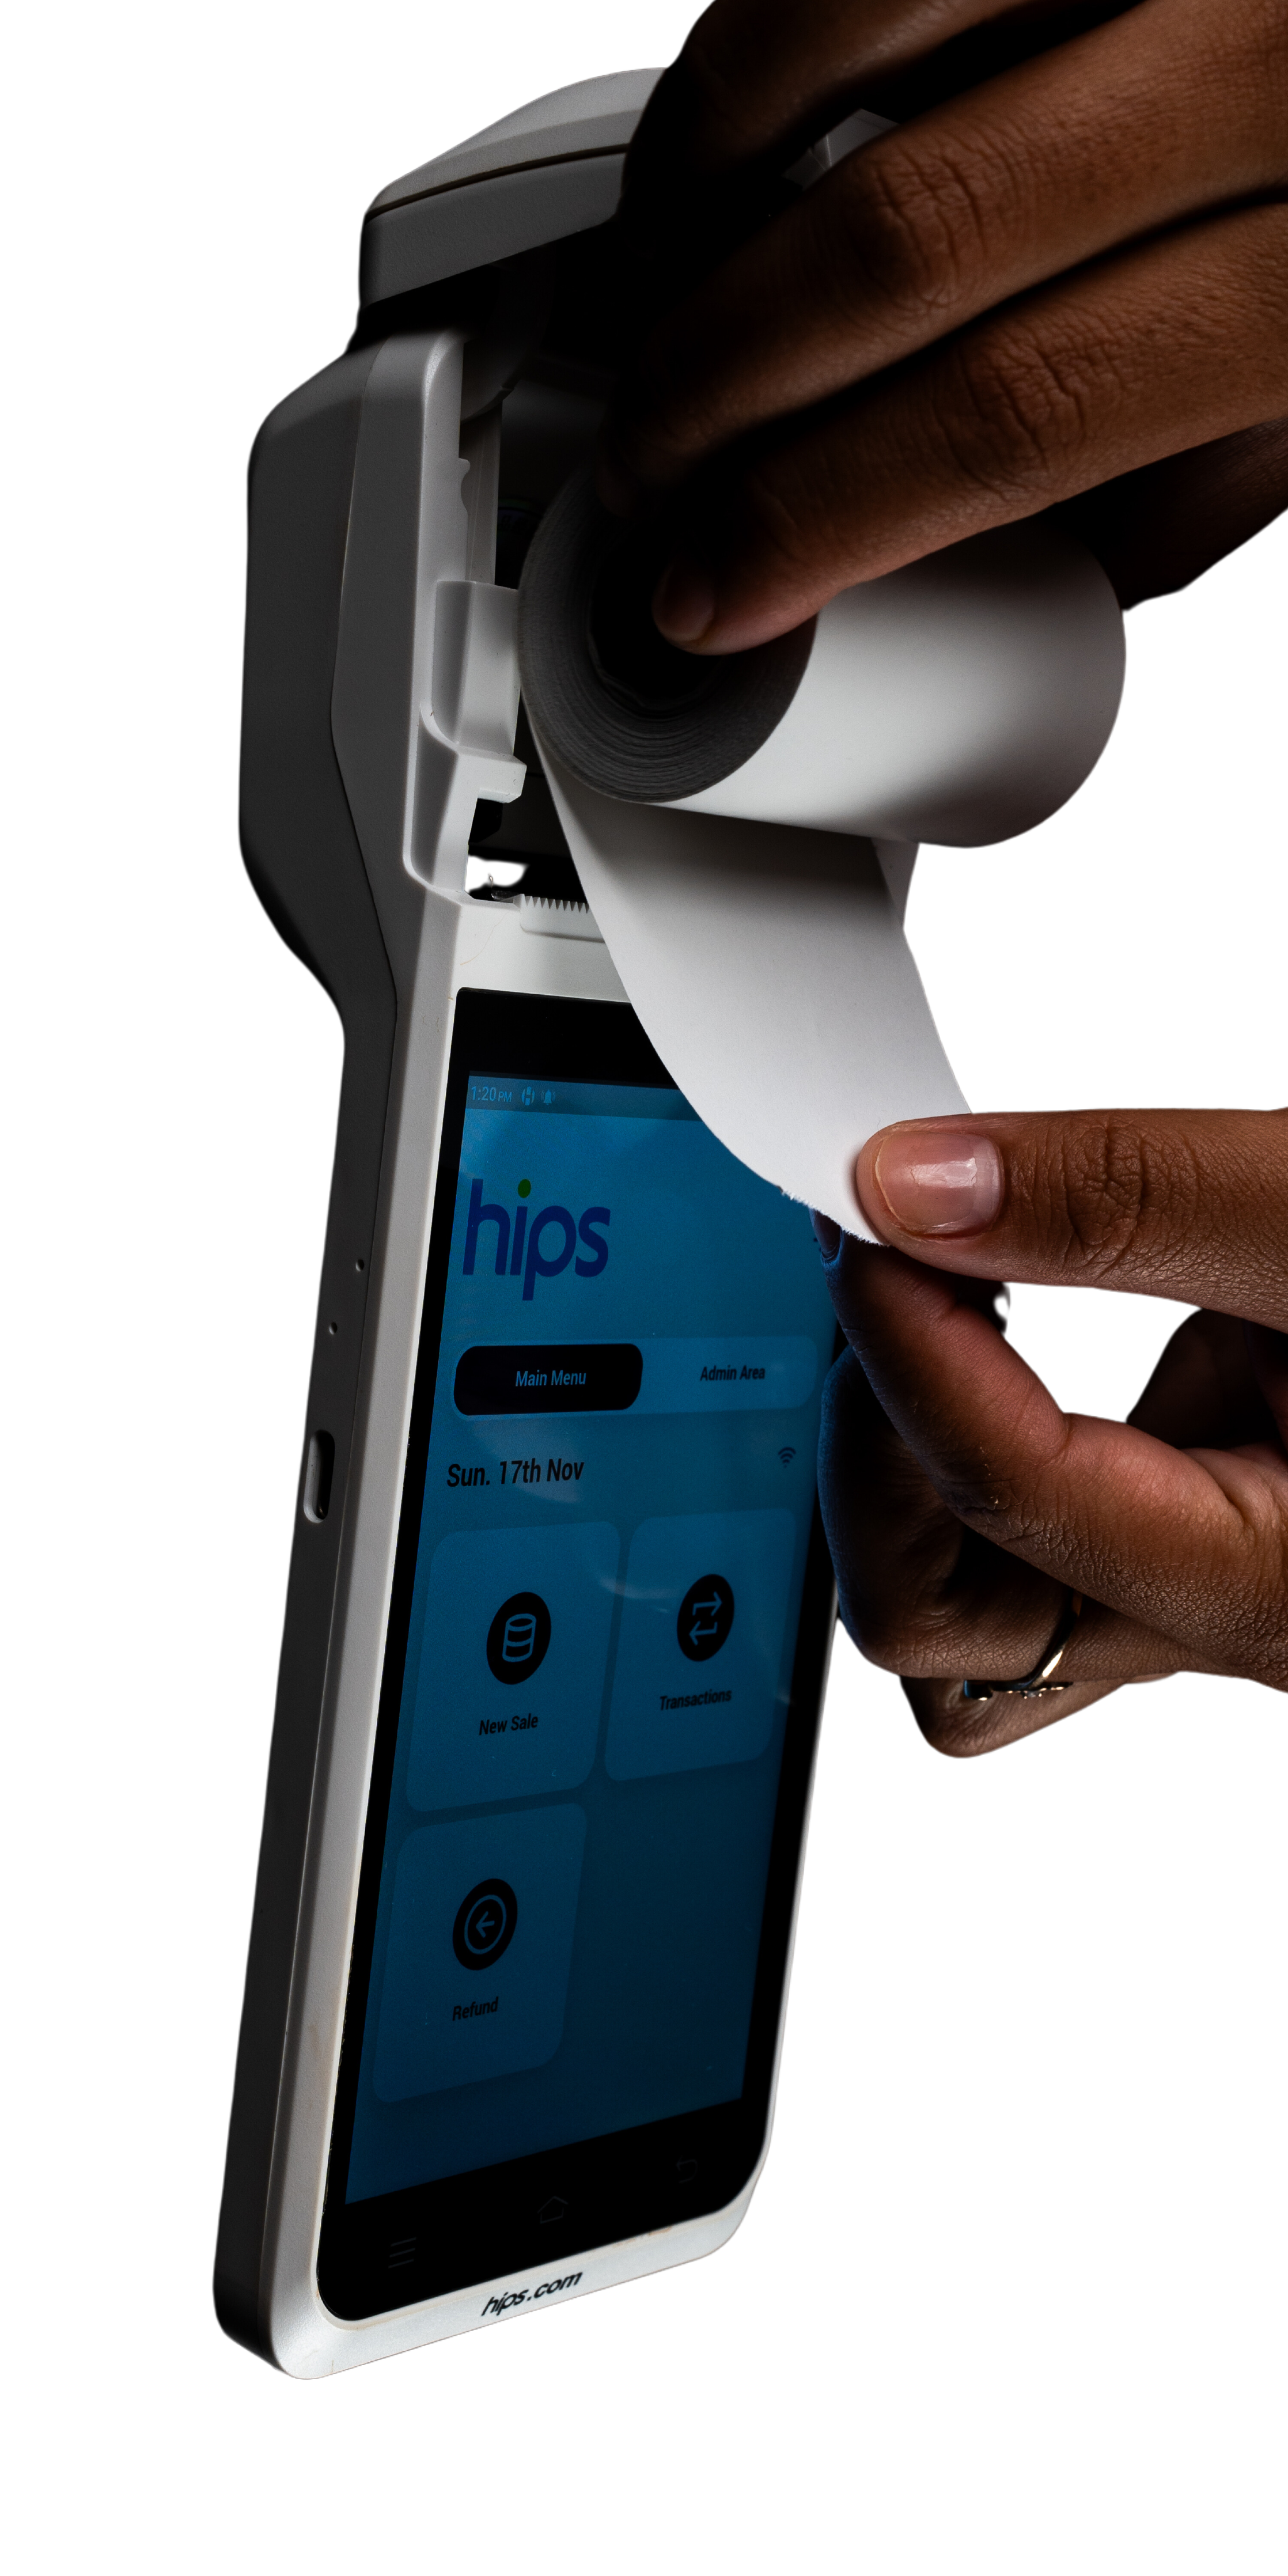
Locate the hinge to open the paper cover.

Using your finger, pull up the lid behind the MTO logo to open it.

Once the lid is fully open, rotate the device again for better access to the compartment.

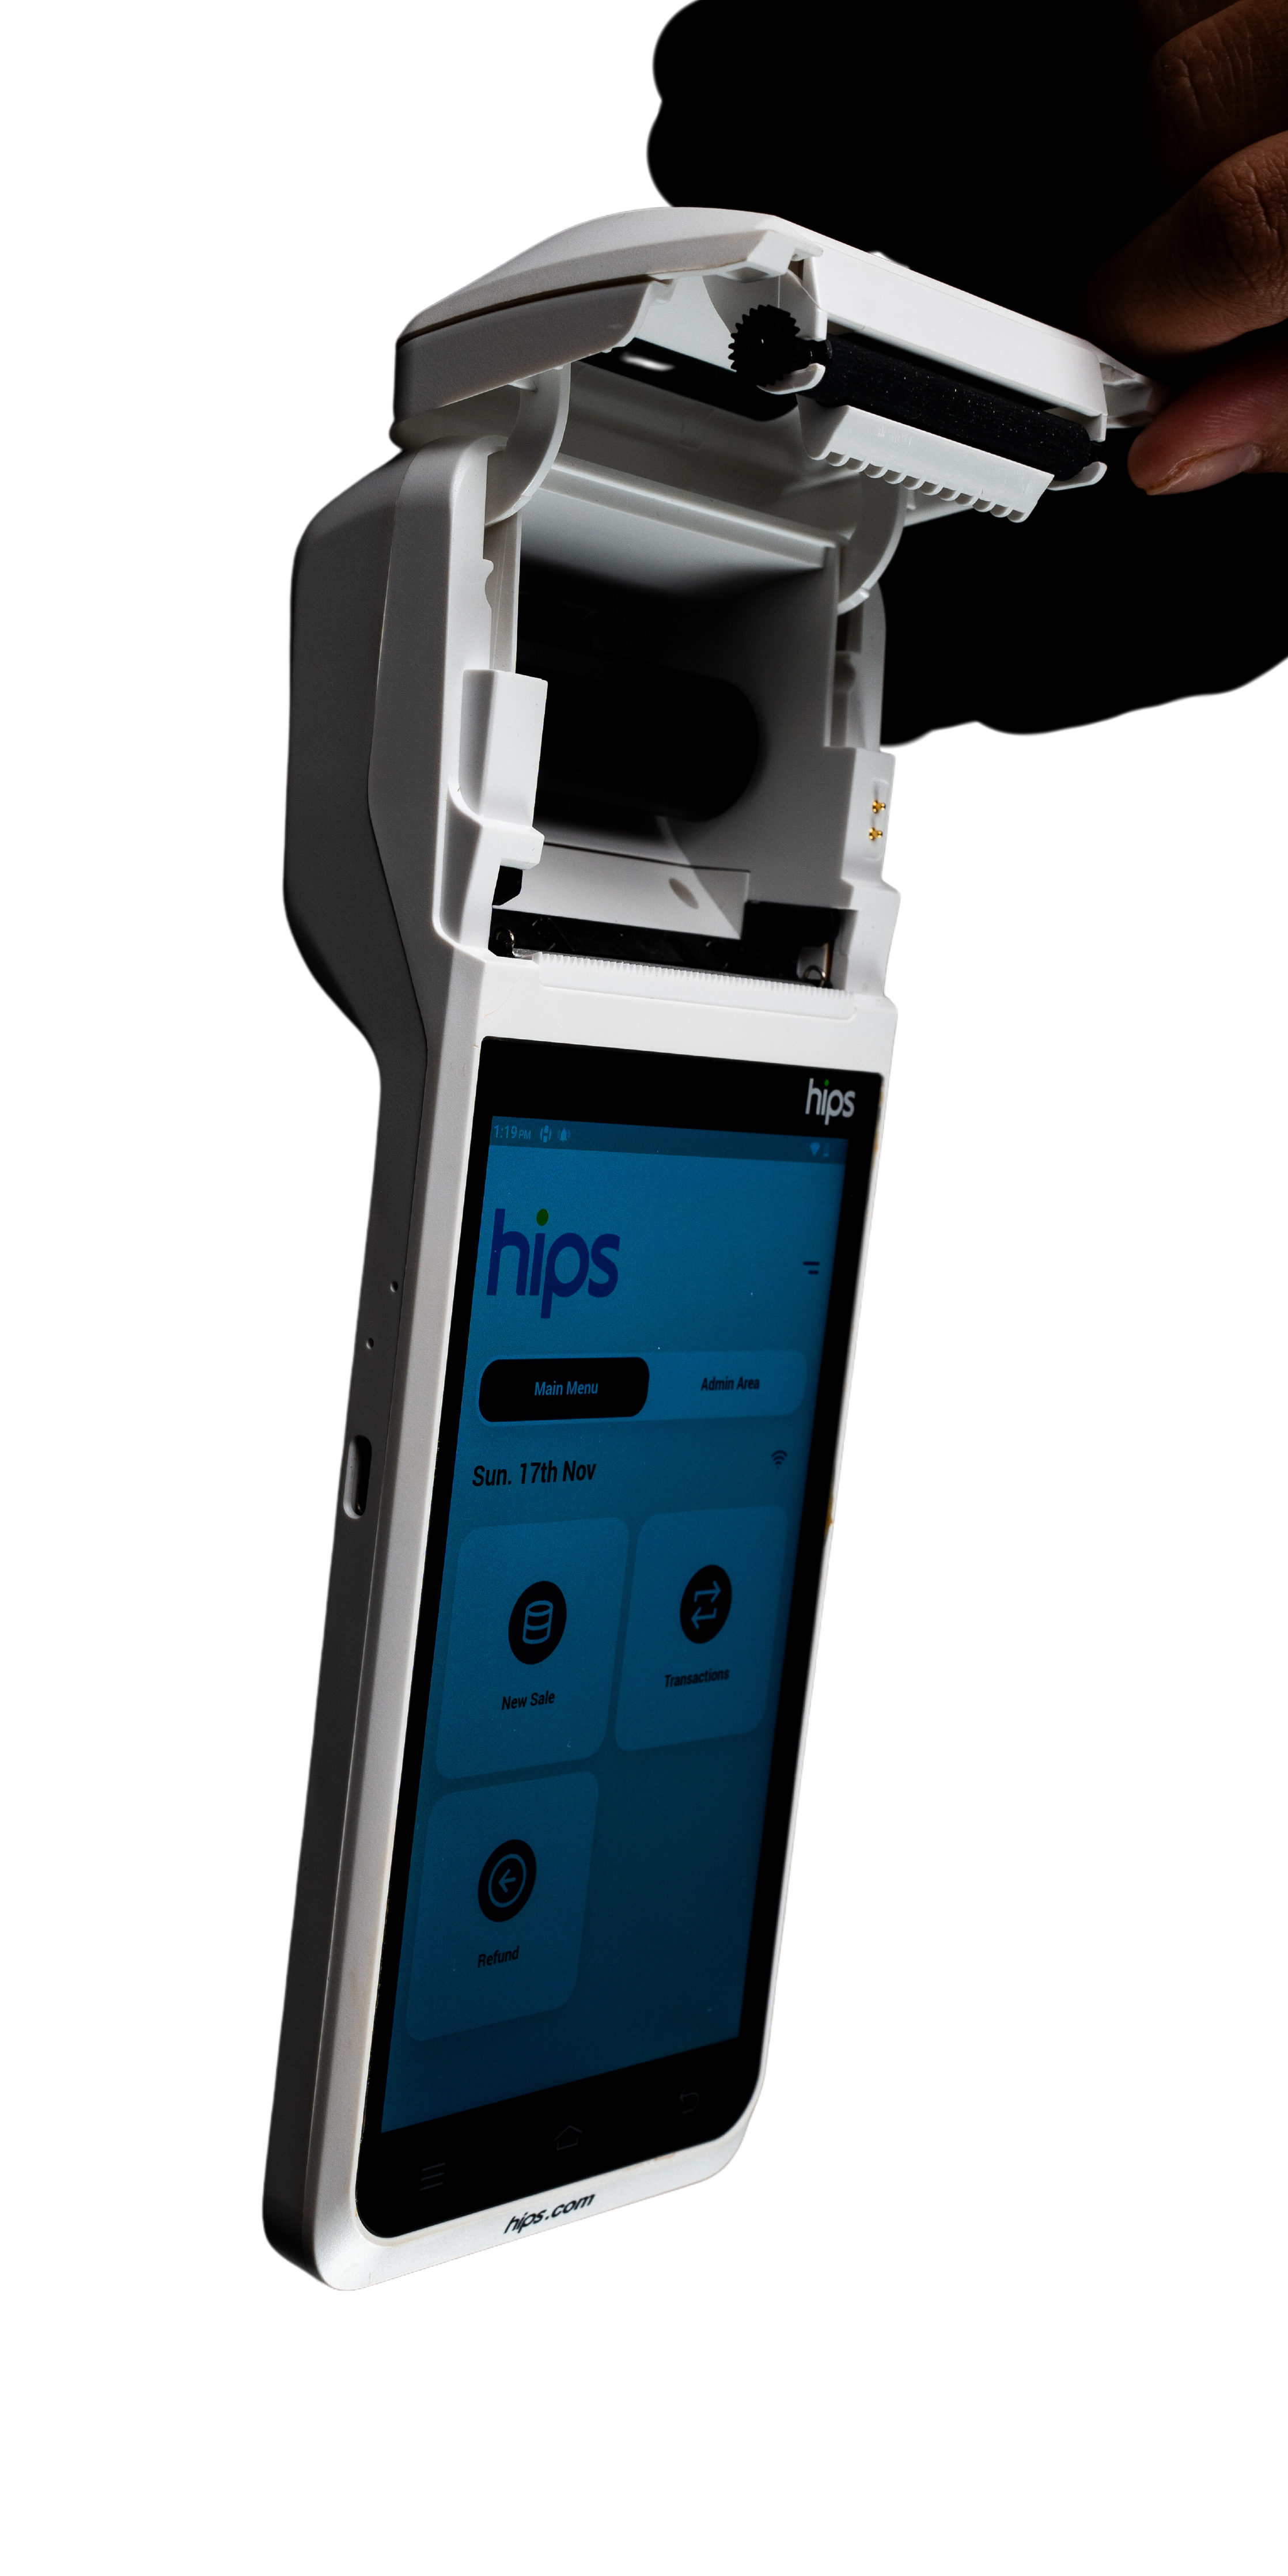
Pull the lid further back to reveal the paper tray and empty roll.
Once fully open, you will see the tray with the empty roll.
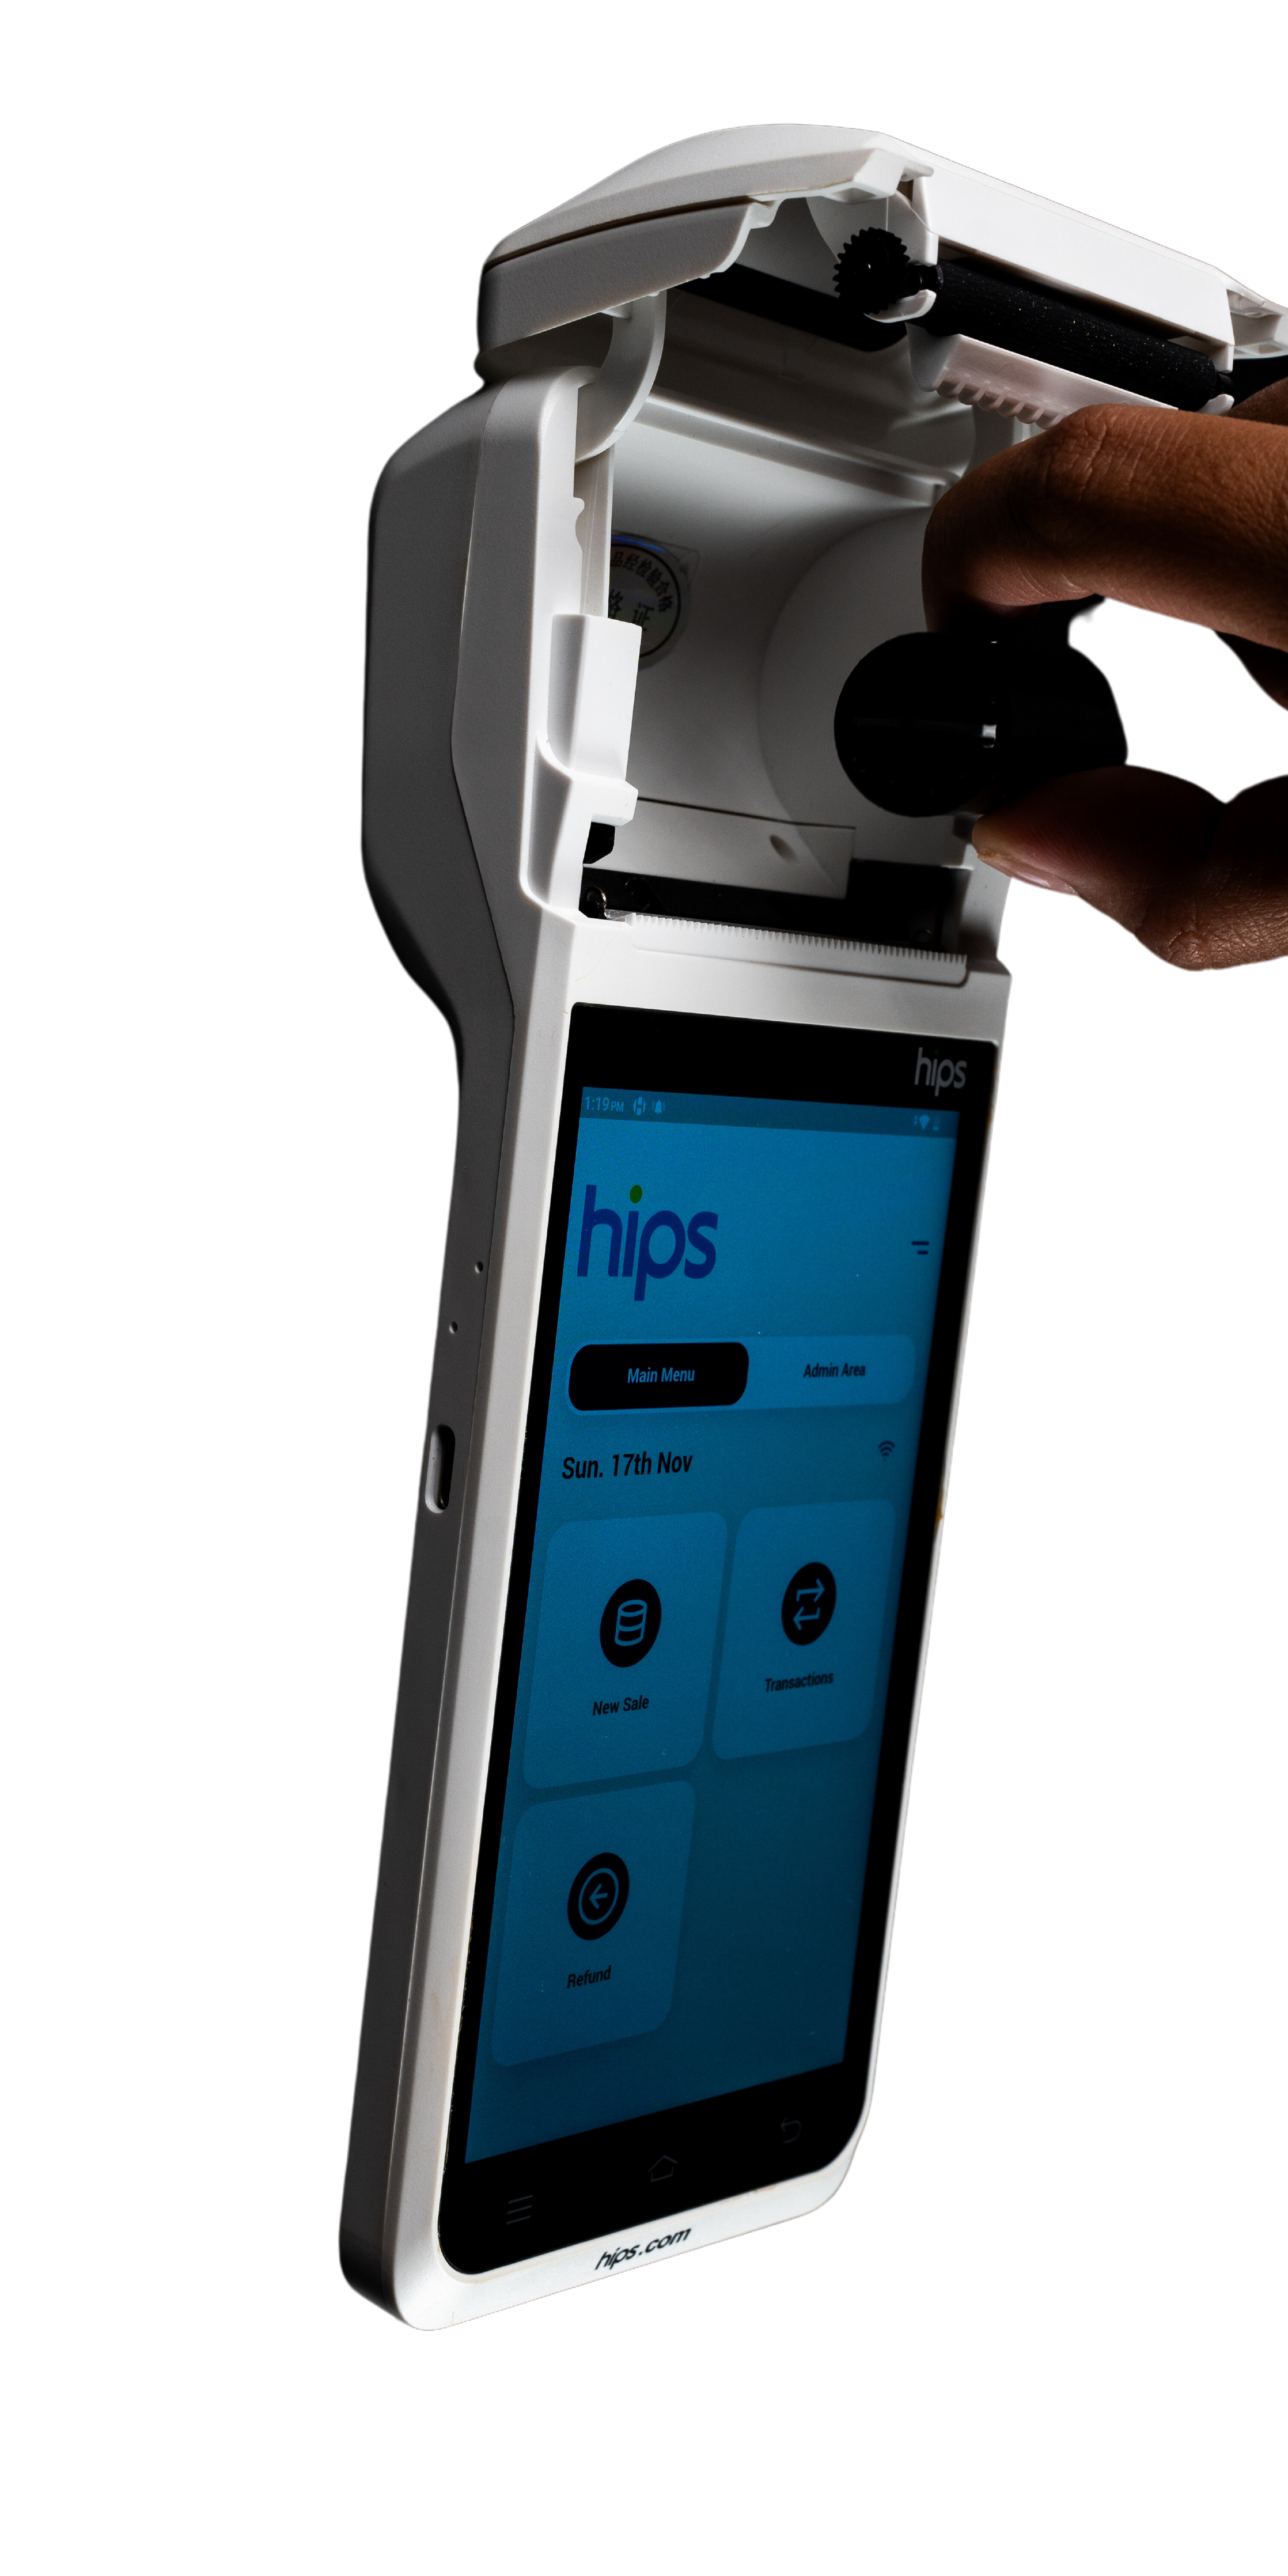
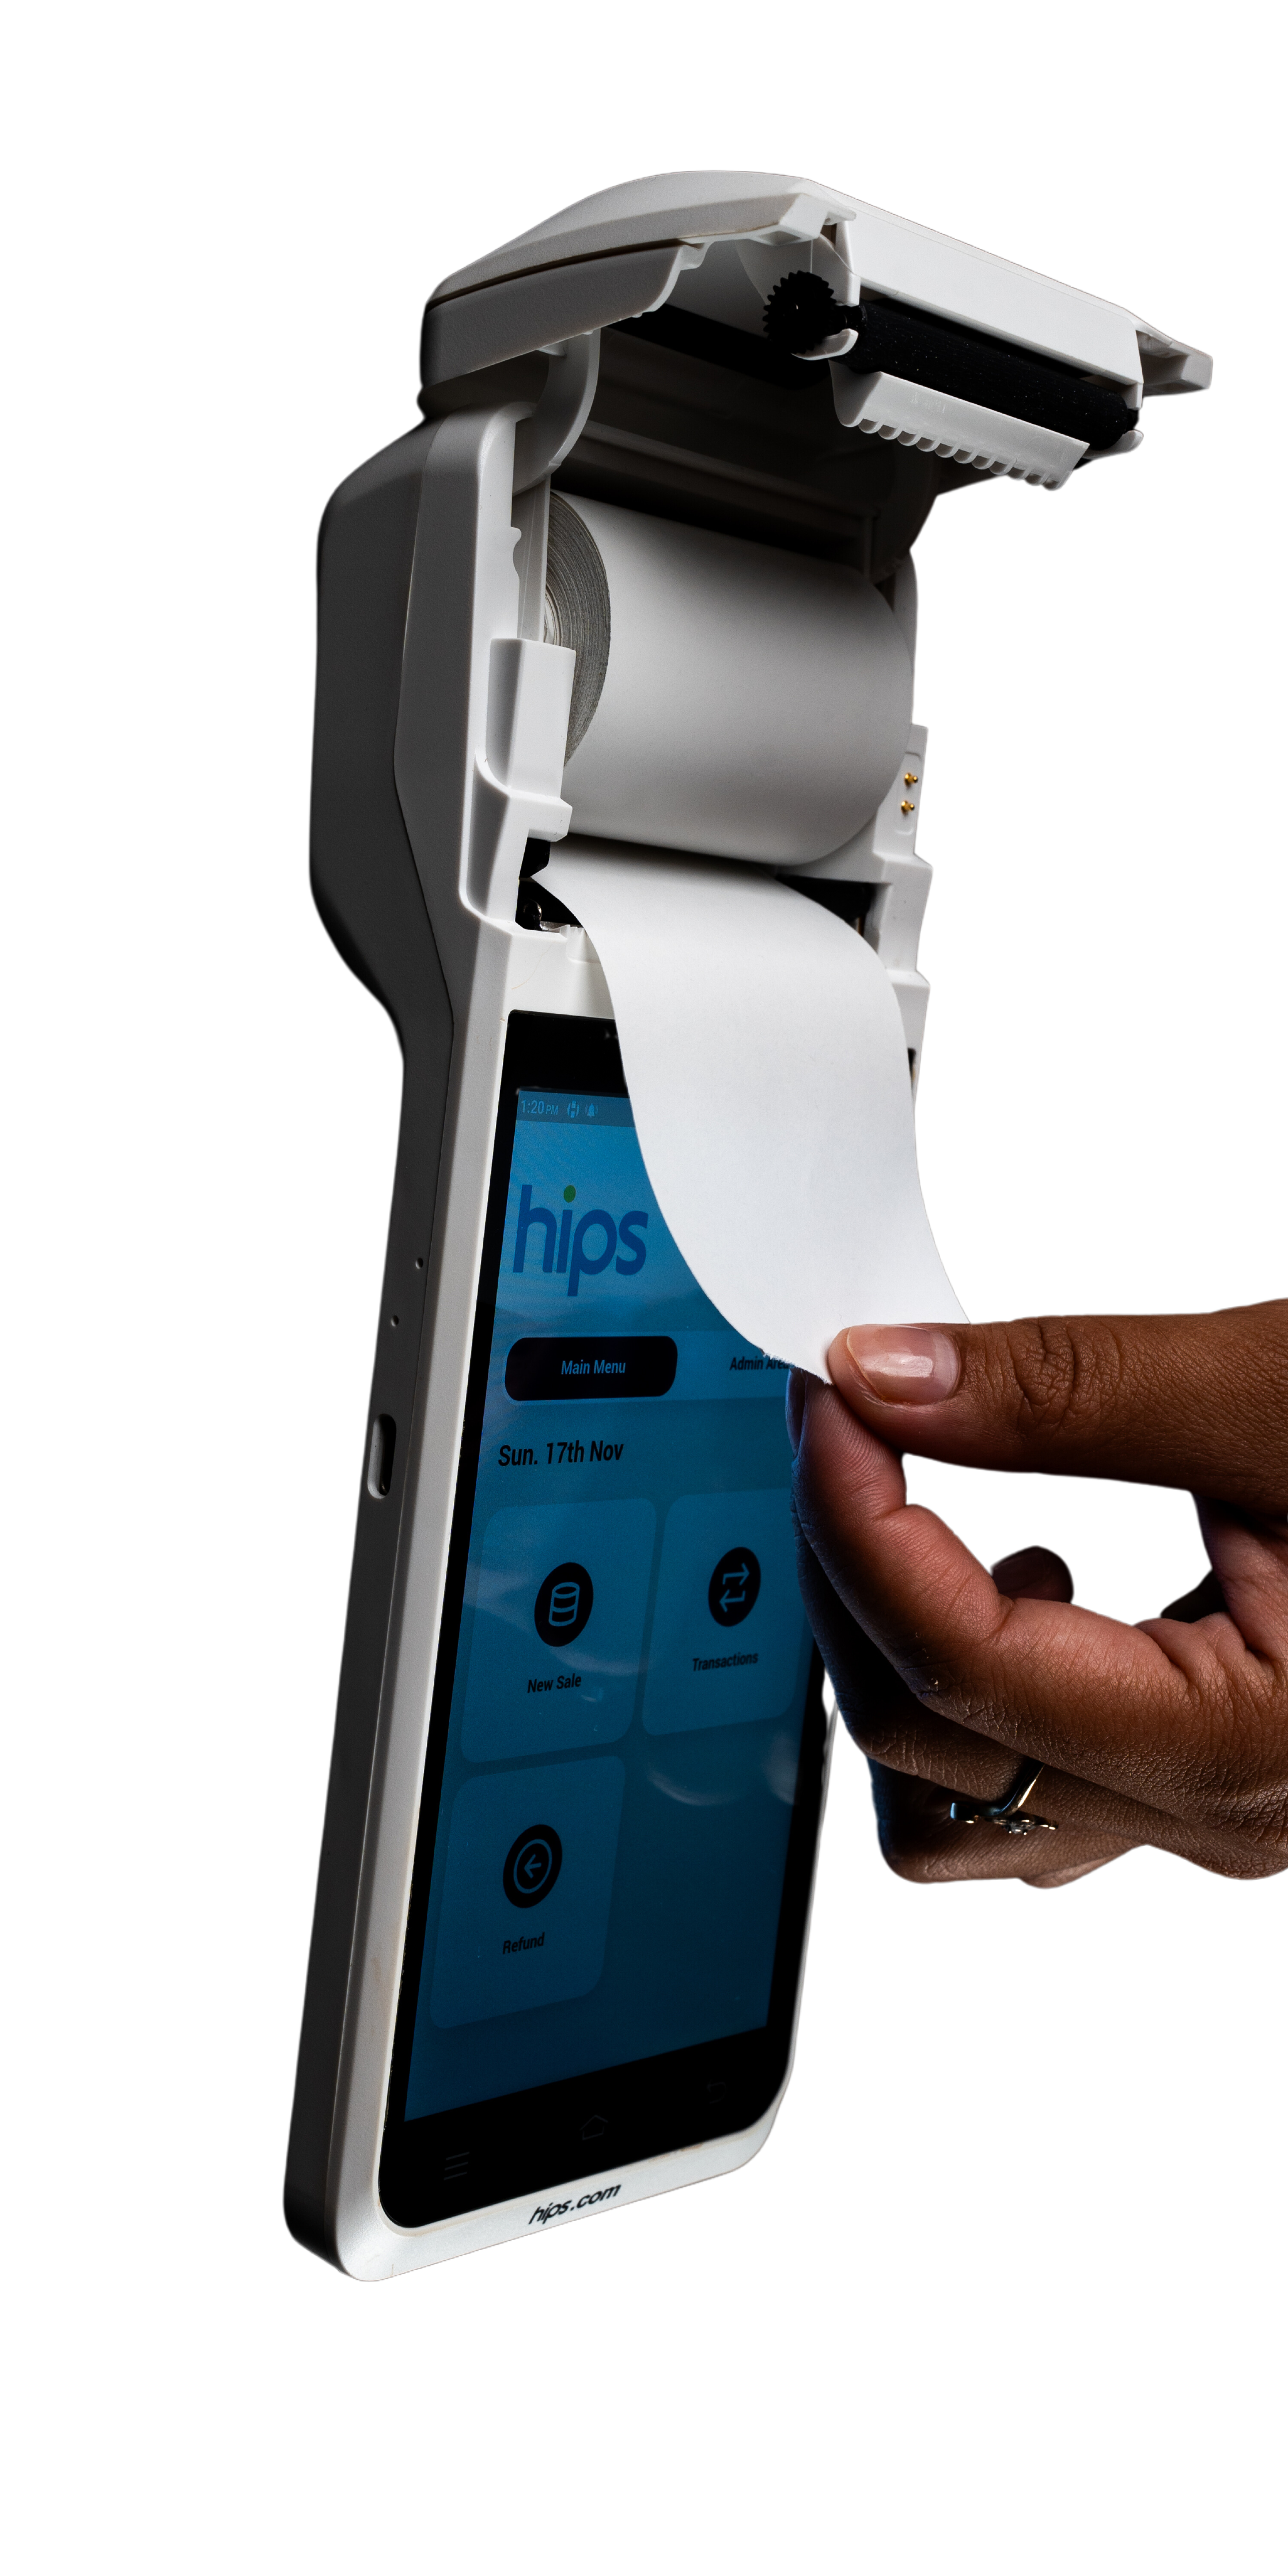
Remove the old paper roll from the tray.
Insert the new paper roll, ensuring the paper is facing toward the screen.
Pull the paper to leave a small portion sticking out of the device.
Close the lid, holding the paper in place to ensure it remains outside the device.
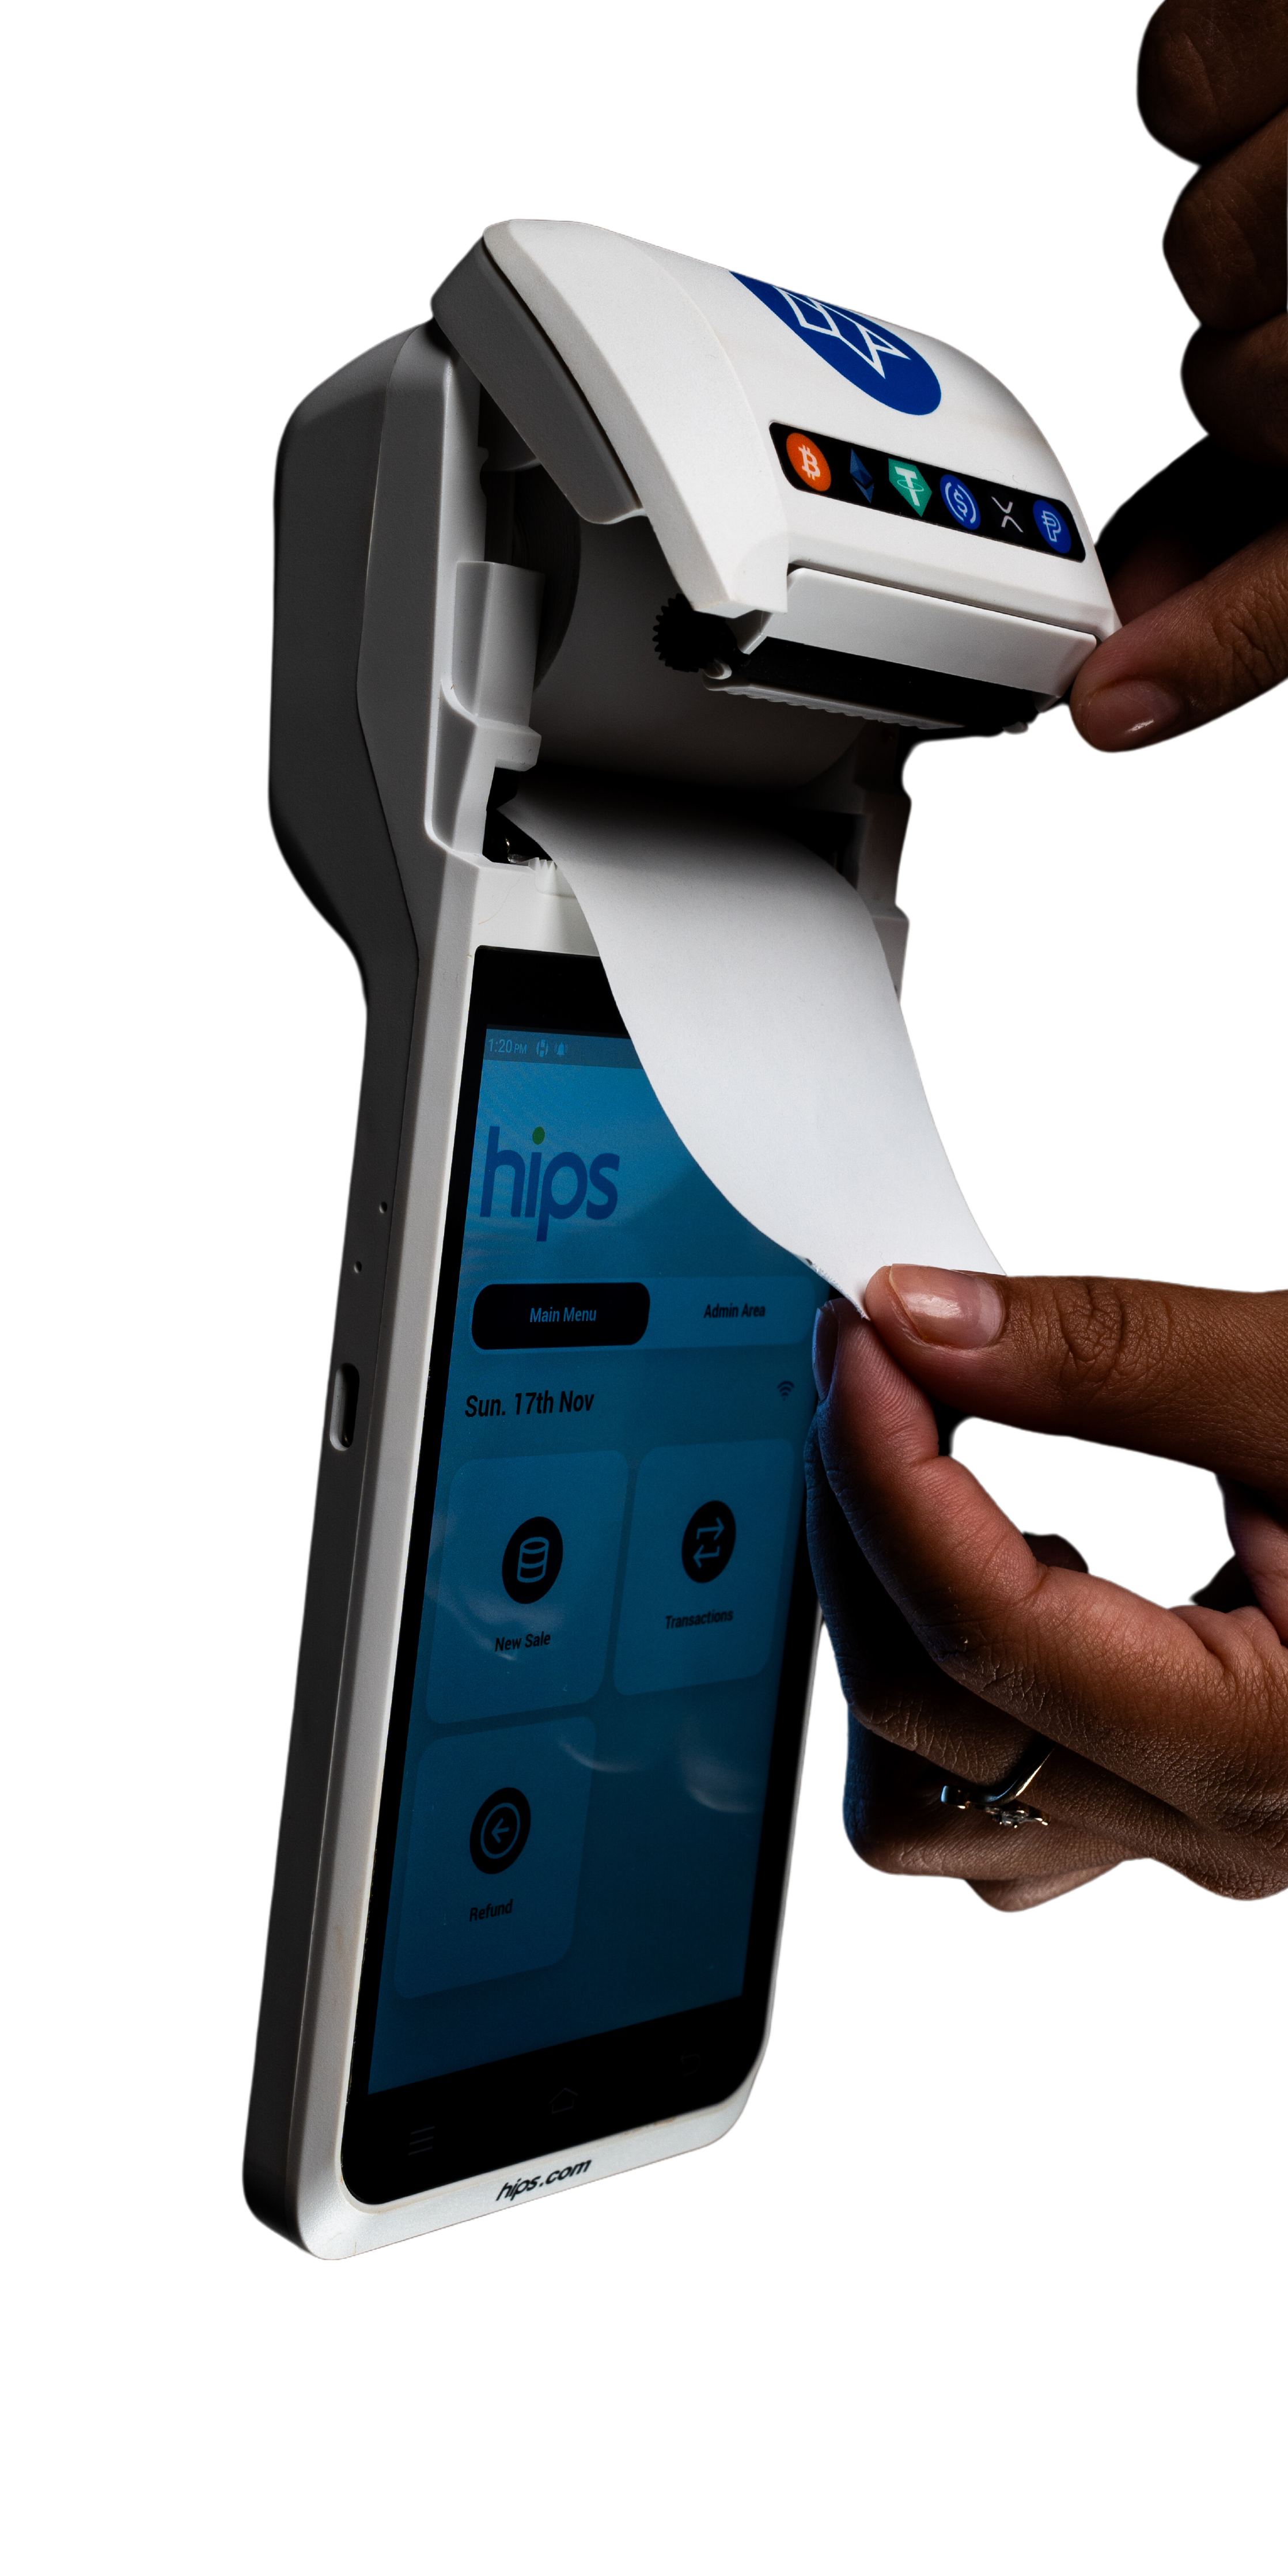
Ensure that a portion of the paper is still outside, when the lid is closed.
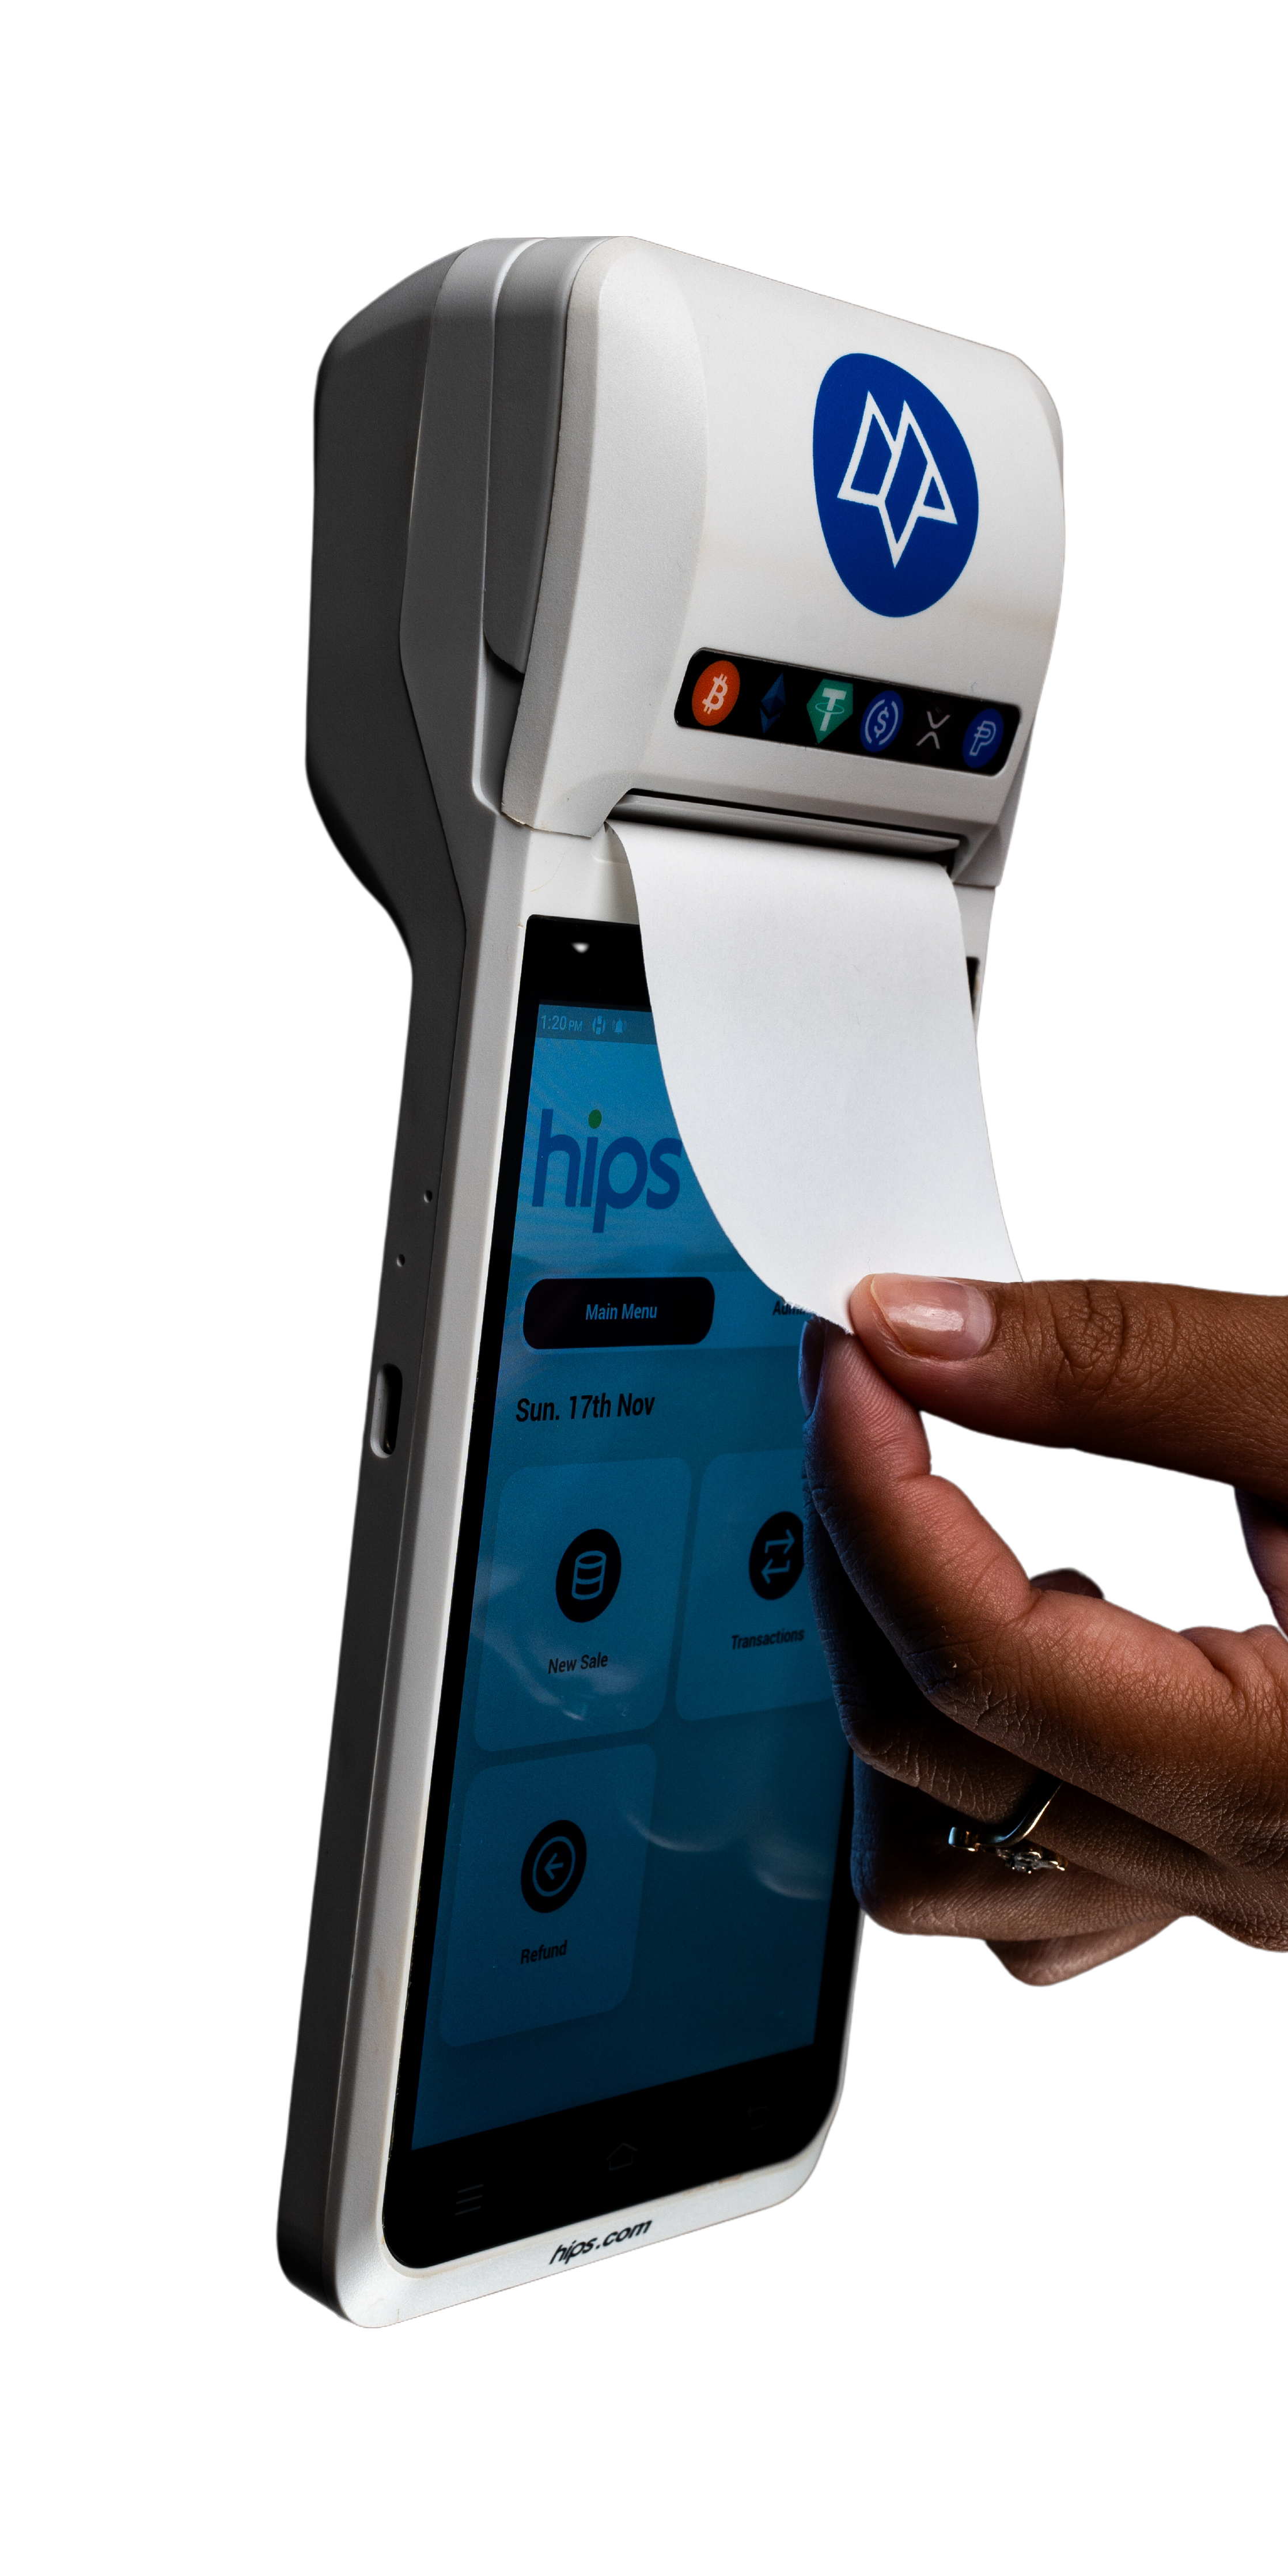
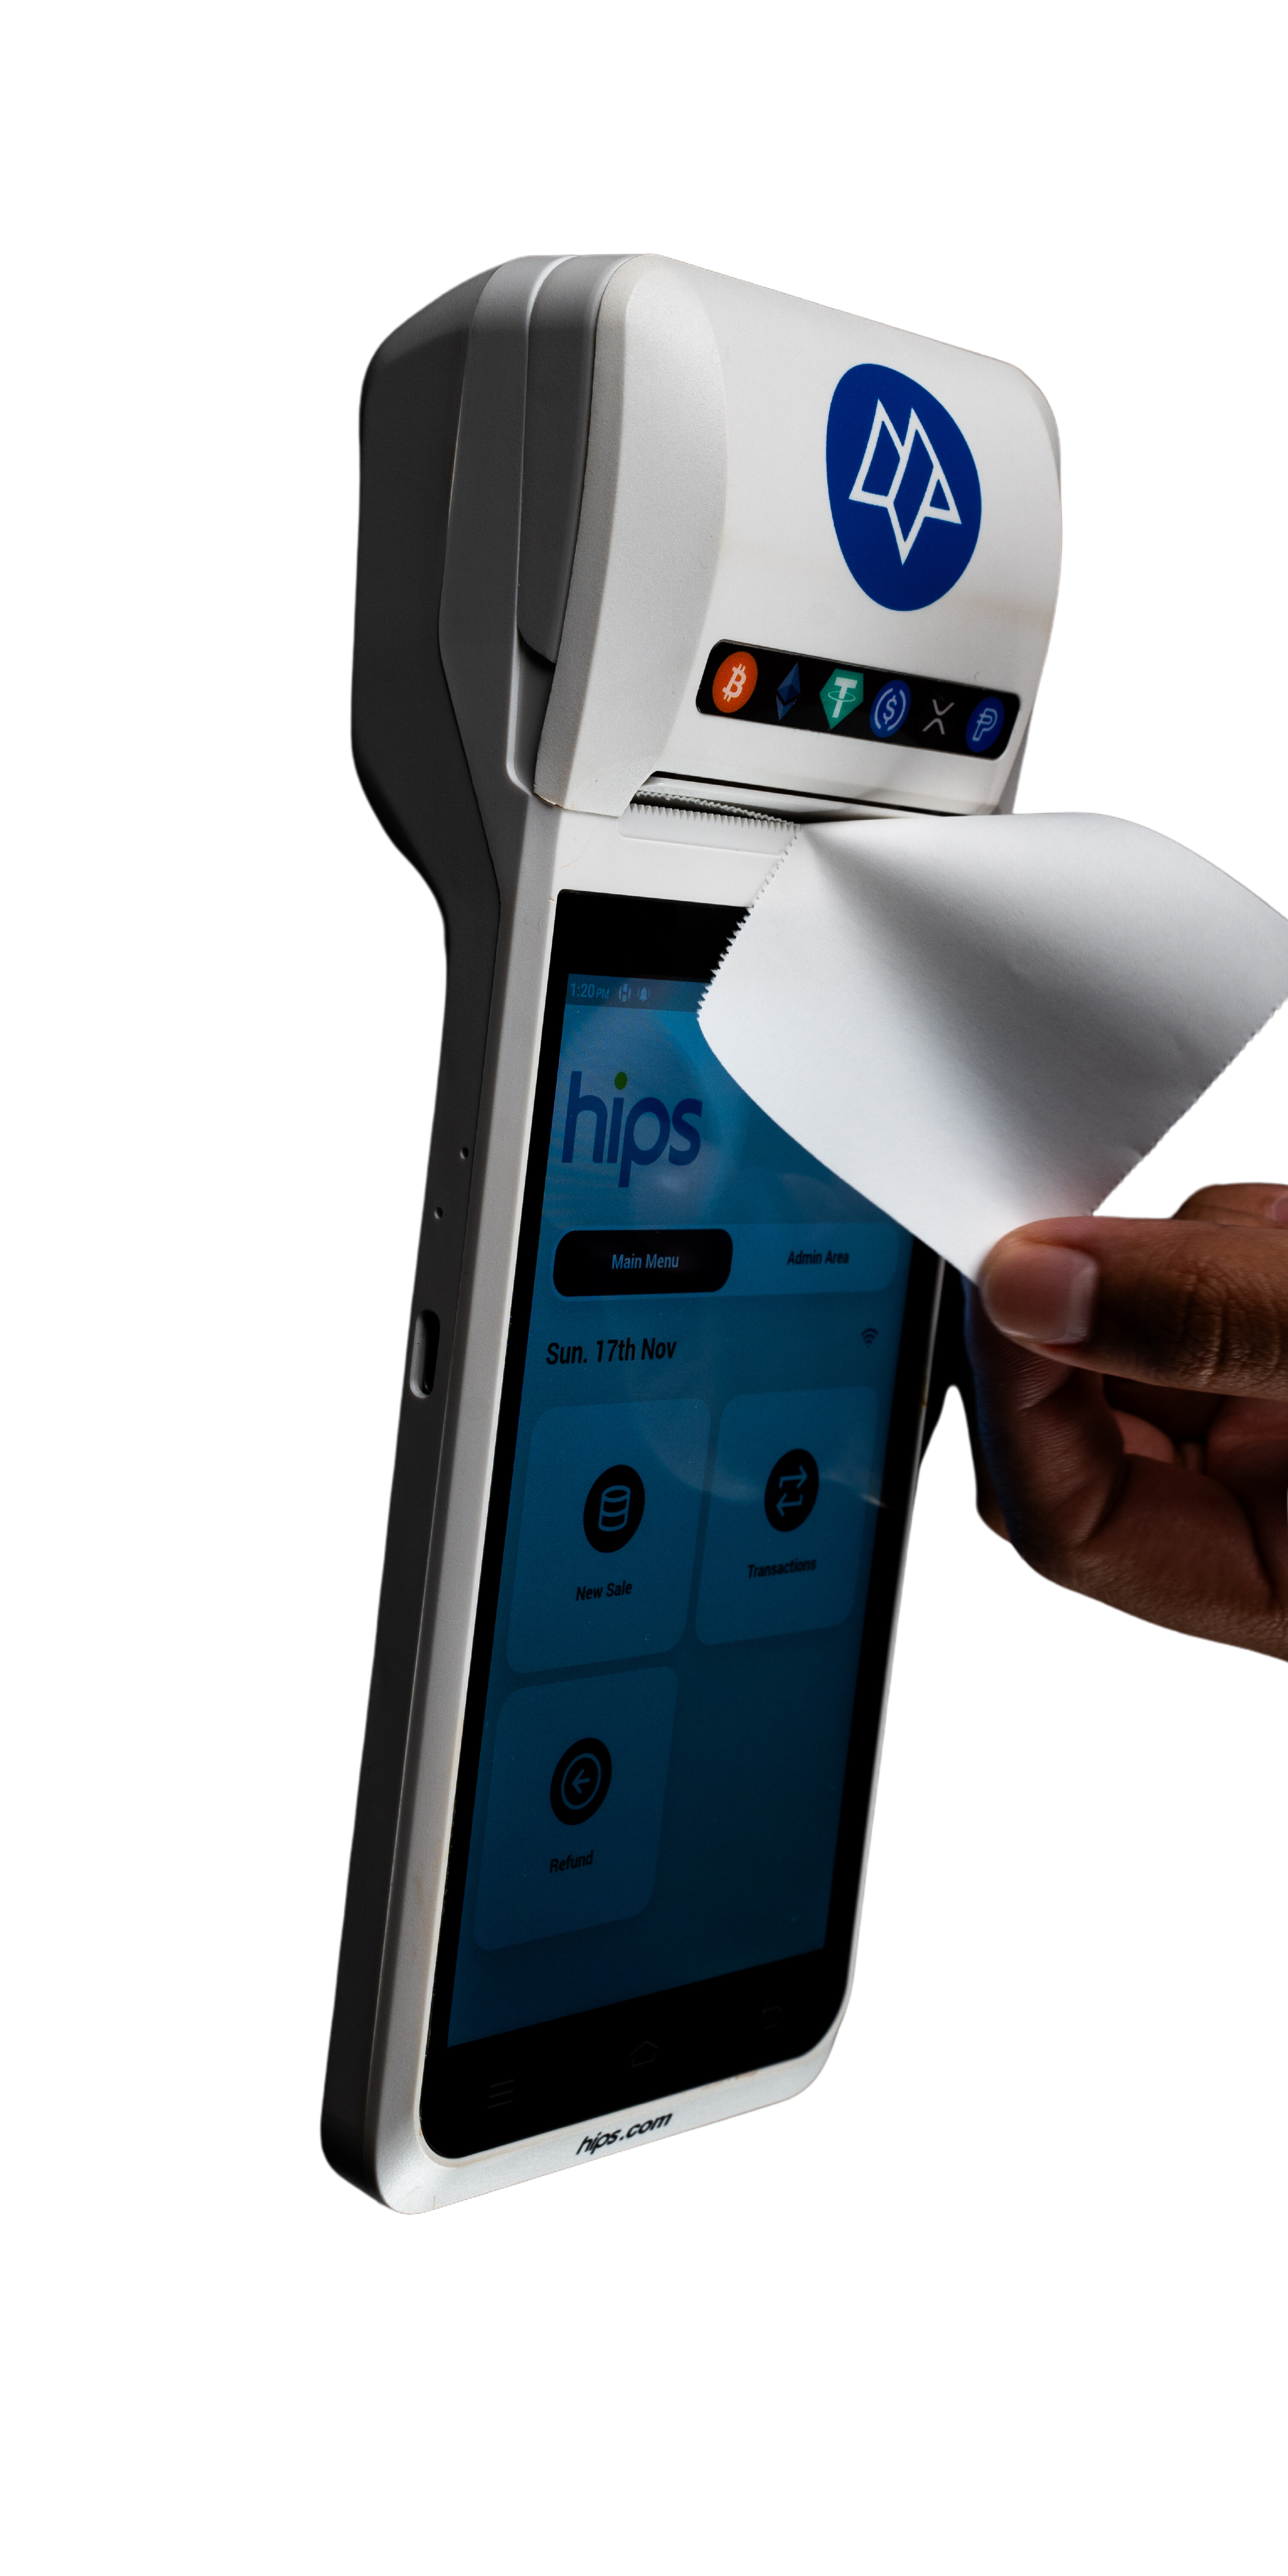
Tear the excess paper by pulling it toward the screen.
In the Settings and Diagnostics menu, you can use the “Test Print” option to ensure the printer functions correctly and the paper is properly loaded.

Verify that the paper prints correctly by reviewing the test print output.
Updated about 2 months ago